Removing the Mould, Preparations For Casting
With some concern for the quality of adhesion versus mould release I gently removed the moulds. I'd never brushed on rubber in an upside down application.
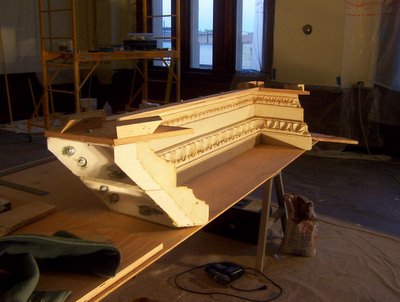
The gypsum and fiberglass tape jacket held up just fine. I was concerned that the long, thin sections might be pushing the structural limits of the material. The returns came off rather easily. The front section took some prying and strategy. Once down and situated in the basement shop area I examined it for bubbles. There were a few. I would have to purchase a hypodermic needle of a practical size (60cc) to inject them with small batches of rubber.
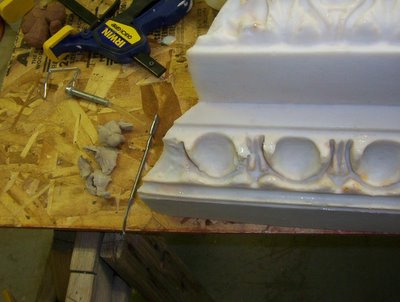
Filling in these sometimes lacy bubbles presented a problem in containing the rubber while it was still in its fluid state. Working against the residual mould release transfered onto the rubber I fenced off the worst of them and squeezed the rubber out of the needle into them, waited a day for them to cure, then ground them down with a very small rotary burr.
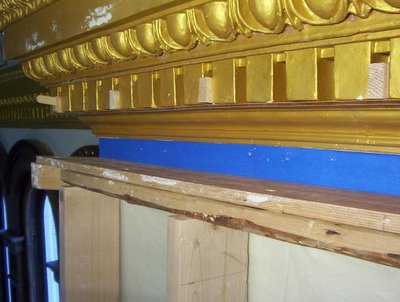
While these were curing enough to switch between pieces that needed repair I've been going back up to the third floor and continuing the process by making shutters for the Ogee and Bead moulding beneath the Dentils.
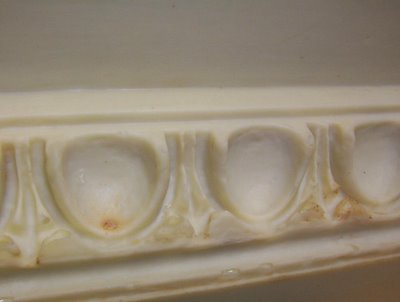
In this process I have found that attempting to dress up flaws with plasteline clay, for ease of release (if not improvement of the piece's quality) is not a good thing. It is better to do this with patching compound. The clay reacts to the rubber, even through a coating of wax and spray release, making it seem less flexible. This is not desirable, especially in undercut areas, such as underneath the egg and dart.
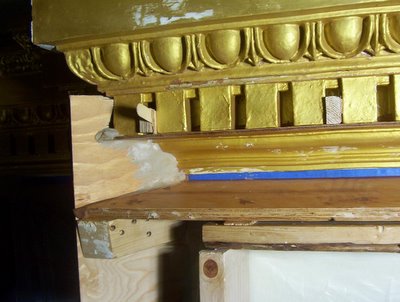
Since the Ogee and Bead section is the transition between the pilaster wall and the cornice any chance to make adjustments for lenth to fit the pilaster to be restored can be made up in extending the shape in clay. In fact, it is 3/8 of an inch that need to be made up. Since the top portion will be sitting upon the dentils this difference can be split and disguised to the point where it is not easily apparent. I've already challenged visitors to spot the egg and dart patch, and as yet no one has . For ease of access and better release I have also tipped the plywood formwork. I've also had to attach the supports to the plaster with a bracket and a couple screws.

During all this I've found that one should never let the cordless drill fall into a bucket of rinse water. Maybe if I had rinsed it out well and let it dry out it would have worked alright. In trying to wax the trigger from sticking I've burned out two batteries and had to make the trip replace it in the middle of a work session.
posted by Swathi @ 9:59 AM
![]()
<< Home